This post is sponsored by Tap My Trees, who provided me with me with maple sugaring materials and compensated me for my time in reviewing them.

We started this whole process last year by figuring out what kinds of maple trees we have and making sure that we had all of our supplies. I wrote all about it in the post Maple Sugaring at Home: Getting Ready to Tap My Tree.
So once Christmas was over and the new year came, I remembered that Little House in the Big Woods told me that it was almost tree tapping time! Now that I am an adult, I feel like time flies so quickly (is it that way for you too?) so I was a little afraid that I would miss it all together, but I just kept remembering what I learned from my Maple Sugaring at Home booklet: daytime temperatures above freezing, nighttime temperatures below freezing.
Step One: Drill a Hole in Your Tree and Hang Your Bucket

So once we got a warm spell, the whole family went out to one of our maple trees to hang our sap collecting bucket. Maple sugaring time is typically about a 6 week season in late February-March. Our warm spell came in the beginning of February, and since I was afraid of missing the whole season, we went ahead and drilled our hole.

Sap was supposed to start dripping out, but nothing happened. Then I started worrying that we were too early and that I messed the whole thing up. Luckily, I searched for some information online and found that it is ok to drill your hole early. Sap will just start dripping when it is time!
Let me tell you, this whole experience was a great lesson in patience! I am not a very good DIYer, so while this process was fascinating to me, I was very nervous that somehow I would mess it all up. SPOILER: everything turned out ok.
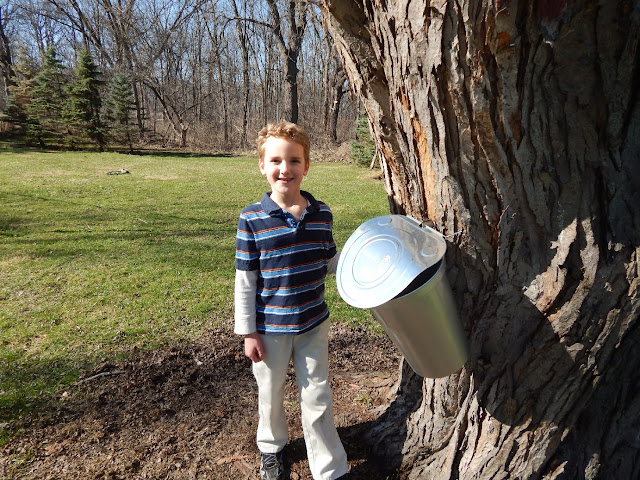
Step Two: Wait for the Sap to Flow
This was the hardest part, for sure! I think the weather in my area this year was just wrong. We would get a warm spell, but the night time wouldn't get below freezing. Then it would cool back off, but the daytime wouldn't get above freezing. That cycle repeated a few times, and then finally we got a week where the temperature were above freezing in the daytime and below freezing in the night time.
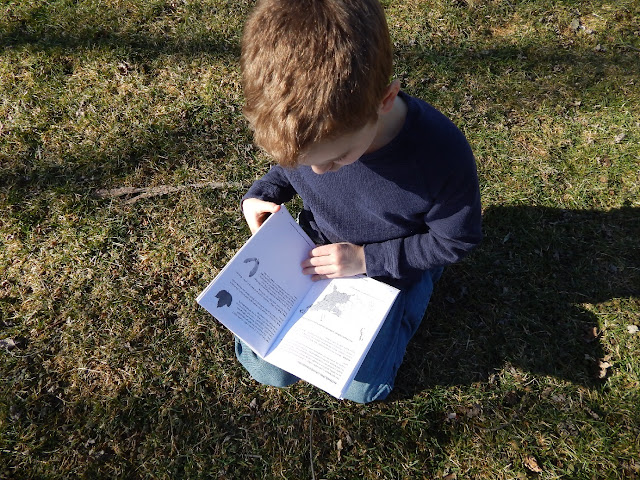 |
| Waiting and reading to make sure that we did it right! |
We would faithfully check and recheck the bucket to see if any sap had come out. We would stick our fingers up the spile to see if we felt anything trying to come out. Nothing. I even tried drilling a hole into another tree because I thought that maybe my one tree was a dud! Nothing.
Then one magnificent day I decided to go back in our yard to look at the hole in the original tree and much to my delight I saw some sap! So, I ran up to the tree in the front yard (that I had switched the bucket to), grabbed it, and ran back to hang it on the backyard tree.
I felt like a little kid, watching with wonder and delight. Beautiful, clear sap was dripping out. This mysterious liquid from inside the tree was able to be eaten. Amazing.
If you look super closely at the picture below you can see a drip about to fall off of the spile. If you want to see a much better video of what it looks like when sap drips out, check out this video at Tap My Trees.
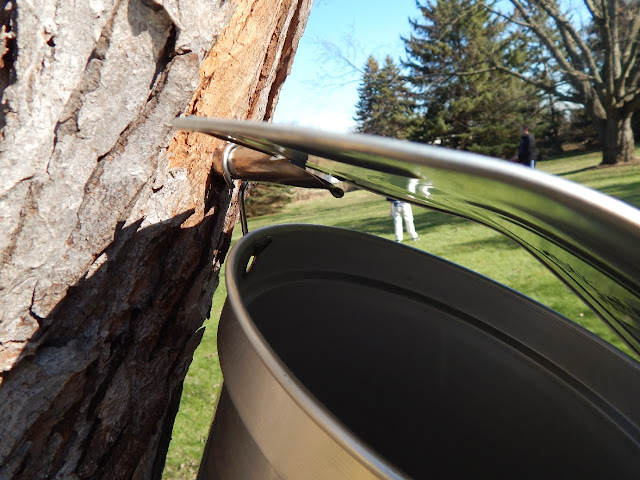
Step Three: Collect Your Sap
When you get a full bucket, or when sugaring season is over, you will need to collect your sap. Unfortunately we did not get a ton of sap, but that didn't stop us from wanting to finish the process of making maple syrup!
You will want to gather a sanitized container and a piece of cheesecloth (which Tap My Trees provides if you get the starter kit like I have), and head out to your tree. You might want to bring a trusty helper like I did, so your jar doesn't tip over and spill your precious sap. Unless of course you get more sap than we did, and then you won't be using such a little jar!
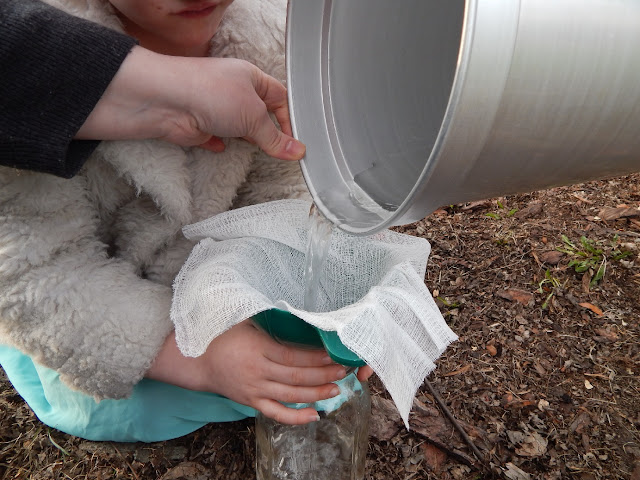
See how the cheesecloth catches any little sticks or pieces of leaves that might have gotten into the collection bucket?
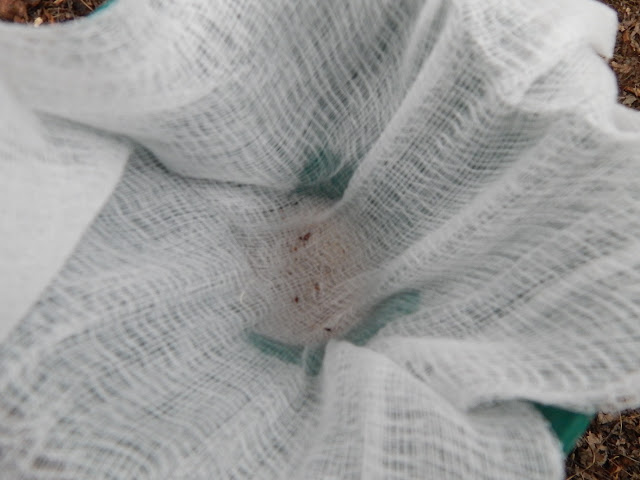
So proud of our quart of sap!

Step Four: Boil Your Sap to Make Syrup
Now that you have your beautiful, clear sap, it is time to boil it! If you have a lot of sap, it is recommended that you boil it outside. Since we only had a tiny bit of sap, we just did it inside.
If you have a lot of sap, the boiling process can take a really long time. Since we only had a tiny bit of sap, we were done in an hour!
Pour your sap into a pot that is much higher than the amount of sap you have. As the sap boils, it boils up quite a bit and you don't want it to spill. Heat the sap until it boils, keeping an eye on it so that it doesn't boil over or get too hot. It will boil down fairly quickly as the water evaporates out of it, leaving just the sugary syrup. I was amazed at how quickly the sap level in the pan went down.
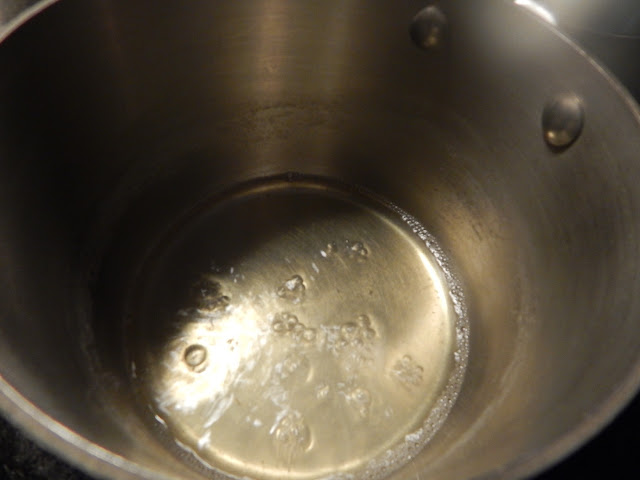
Can you tell how much the sap level went down? If you look closely at the picture above, you can see a light ring where the sap level started. At this point we were probably down to a half of a cup of liquid. Once the sap as boiled down significantly, you want to make sure to keep a close eye on it because the next step happens quickly!

Do you see how the liquid has turned a caramel color and how the bubbles are completely covering the top? This pretty much means that you are done! Officially, you want to see that your syrup has reached 7°F above boiling point (which can vary a bit depending on where you live). My kit came with a nice candy thermometer, which I tried to use, but with my tablespoon of syrup it just didn't work! Hopefully if you try this you will get a whole pot full of syrup and then the thermometer will work great.
Instead, I stirred my syrup with a spoon and noticed to see that it coated the spoon instead of just running off like water. I was nervous that I would heat it too long or not long enough, but thankfully it was pretty obvious to tell when it was ready.
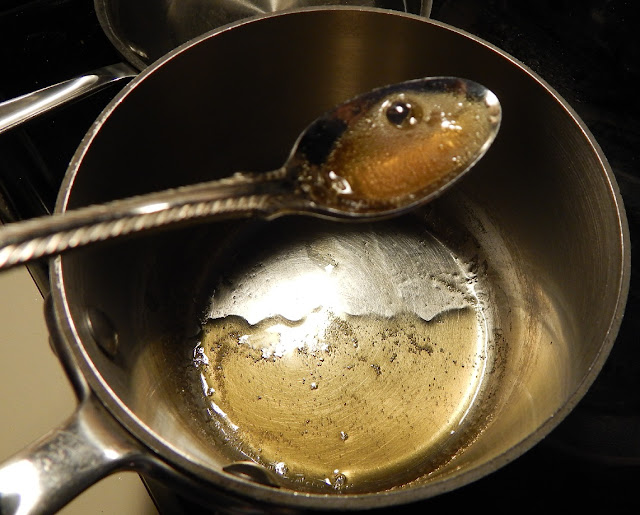
Look at that beautiful syrup! At this point, you would filter it once more (through a filter that comes with the starter kit), but we had such a little amount that I didn't do that step. Instead we just ate it off of the spoon and then it was gone! It tasted wonderful!
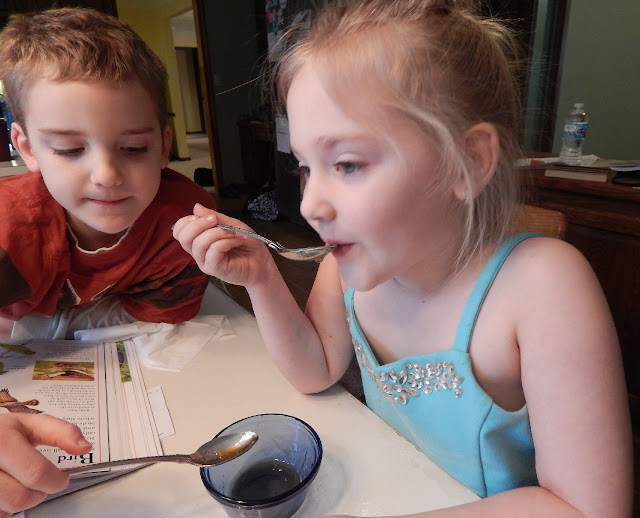
What I love is that I still have everything that I need to do this again next year. This was a fantastic learning experience and now I can try again next year, but this time with confidence!
No step in the process was difficult. The hardest part was patiently waiting for the sap to come out of the tree. The most exciting part for me was watching the sap drip out of the tree. I think I stood for about an hour and just watched it =) Who knows, next year I might even get a few more buckets and try tapping a couple of trees, or putting another tap into the tree I used this year (the diameter of the tree is big enough to support a few buckets).
Have you made maple syrup before? Would you like to try?
Learn more by connecting with Tap My Trees on:
Did you miss part 1? Learn how to identify your maple trees and prepare to make your own syrup!

 This post is sponsored by Tap My Trees, who provided me with me with maple sugaring materials and compensated me for my time in reviewing them.


No comments:
Post a Comment